
So you’ve fallen for the patio propaganda machine. Maybe you read last week’s article (you should have) and it brought you here, or maybe you made the decision on your own and are in the research/planning phase of your project. Regardless of how you got here, this article is your step-by-step handbook on how to install your brand-new patio, all on your own.
The Right Tools for the Job
Installing a patio doesn’t necessarily require any special tools, but they will certainly make the job easier. Here is our curated list of tools to make the job go as smoothly as possible, as well as links to purchase some if you don’t happen to have them lying around.
–Tamper/Compactor


–Flathead Shovel


–Wet Saw (or Jigsaw, depending on chosen patio topper)


Materials
You can think of a patio as three main layers of material. The landscaping fabric, the base layer, and the top pavers.
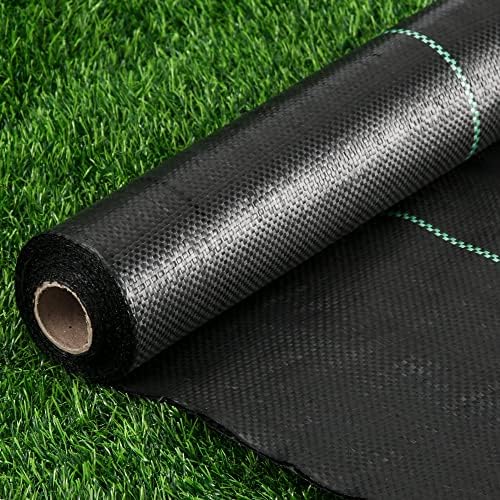
-Landscaping fabric is the first bit of material that you likely won’t have lying around the house, so a link to purchase some rolls can be found below. Make sure that you have properly measured the size of your planned patio to ensure that you buy the right amount of landscaping fabric.


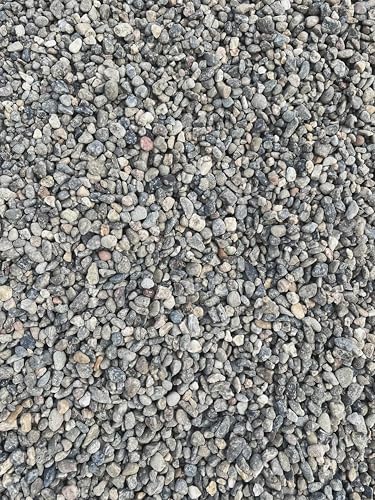
-The base is a 3-4 inch thick layer of gravel, used to ensure a level surface for your pavers as well as provide an adequate drainage system for water.


-The pavers are the fun part of the build, where you get to decide how you want your patio to look and feel. There are a lot of options for your patio toppers, from bricks to paver stones to the interlocking deck tiles that we mentioned in last week’s post. Whatever you choose, make sure that you have the resources to cover your whole build space, as well as the tools to cut the pavers to shape (if you are doing anything other than a rectangular design for your patio).


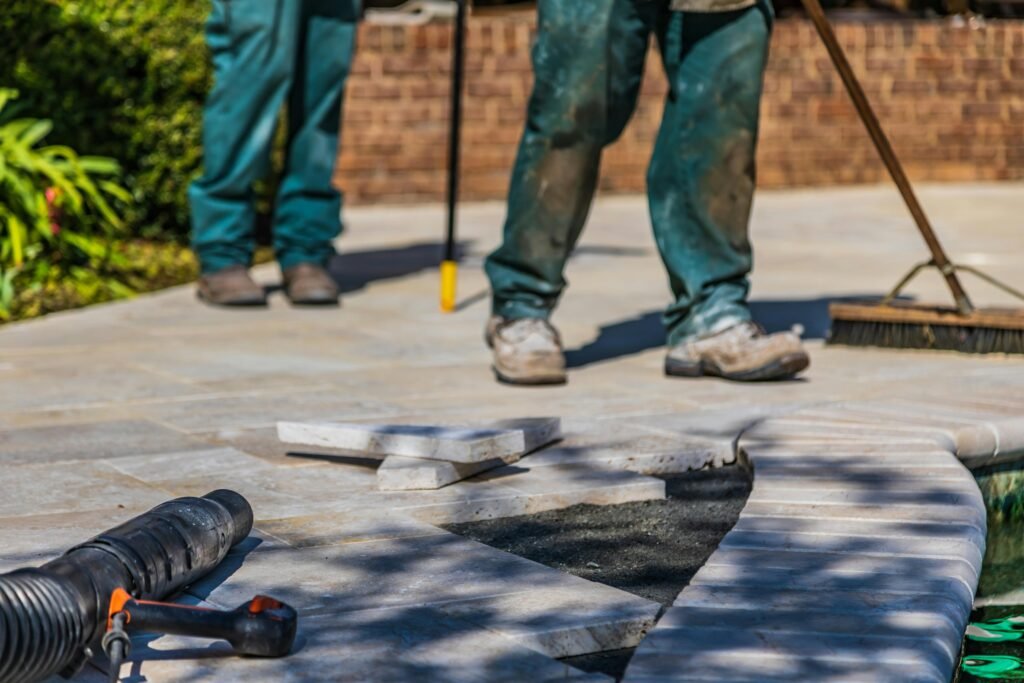
The Build: Step 1
First things first, we have to prep the area that we are building the patio on. Using a flathead shovel (or maybe a tractor if you have one at your disposal), excavate the patio’s general shape to a depth of 5-9 inches, depending on the pavers that you plan on using. You’ll want the top of the pavers to be flush with the surrounding ground when finished, so if you’re using a 4 inch baselayer of gravel, add on the height of your chosen pavers to determine how deep you need to go. Make sure that the area is void of all weeds or grass once finished.
Step 2
After you have your patio shape excavated, tamp down any loose dirt with your compactor. If you don’t have one, your flathead shovel will do the trick. When the surface is ready, cut your landscaping fabric to size and cover the entire base with it. It’s okay to overlap a bit if you have extra- you want to make sure that grass and weeds have no chance of growing once you’re finished.
Step 3
Lay your gravel base on top of the landscaping fabric. Remember, 3-4 inches is the sweet spot, you don’t want to go too thin and risk having leveling issues with your pavers, but you also don’t want to risk having so much base that water won’t drain properly. Once you have that base filled, tamp down again with your compactor (or use excessive force with the flathead) to make sure that your surface is completely level.
Step 4
Time to place the pavers. If you have abstract edges to your patio, you’ll likely have to do some cutting to make sure that your pavers match the contour. If you are using stone or brick pavers, the wet saw linked at the top of this article is a great affordable choice to achieve that look you want, while if you are using interlocking tiles, you’ll want to opt for one of the jigsaws. When laying stone pavers, leave around a 1/8 inch gap between stones.
Step 5
Now that everything is in place, the final step is to spread a bit of sand in each of the cracks to help lock the pavers in place. If you are using interlocking tiles, you might skip this step. Throw some sand across the patio and use a broom to sweep it evenly in the cracks. Viola! You’ve finished your patio. Now it’s time to consider furnishings so that you can get to enjoying that space you’ve just created. Check out our article from last week below for some tips on designing your outdoor living areas.
!Read Post: Remodeling Your Outdoor Living Space in 2025? (You’ll Want to Read This First) – handymanhousehacks.com